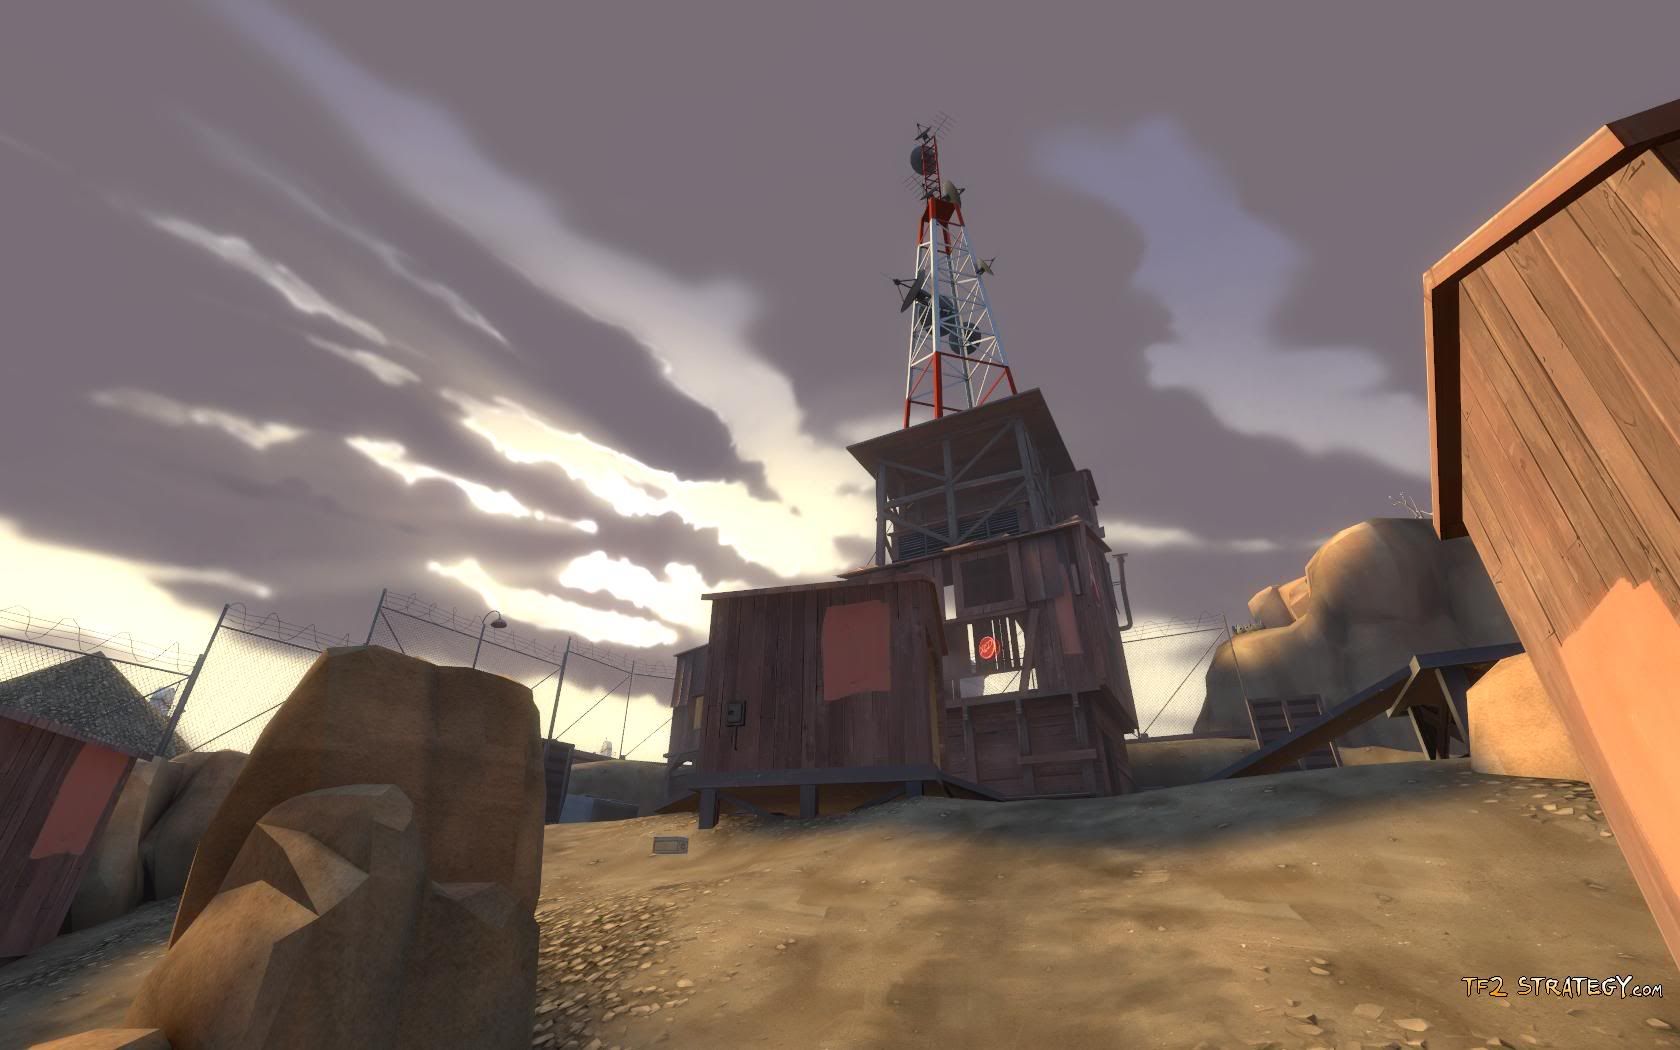
This point is the hardest for RED to defend of the three on the map, probably because it is the furthest away from the spawn of the two initial defensible positions.
A clever Soldier or Demoman on team BLU can make it up to the point very quickly because much of the travel distance is vertical from the exit tunnels. A Sniper on either team can have a tremendous impact on the outcome of this point because the arena is basically a narrow strip. However, many objects obscure the view of players, and the upward slope can lead to a limited view for a BLU Sniper.
With all the height options here, a Scout can flank easily, while remaining mostly unseen. To slow down the Scouts, the single health pack is stored on the inside of a small building, forcing the Scout to move in a predictable fashion to retrieve it.
It is an excellent idea to have RED Pyro wait by the largest health pack (directly beneath the point), ready to spring into action if BLU begins to capture and essentially lockdown the health pack from BLU opponents.
Putting a Teleporter Exit in a clever hiding place near this point can mean the difference between losing the point and letting it get captured. Sentries are less useful on this point due to the long sightlines for Soldiers and Snipers to shoot them down.
All these factors mean that Point A is usually captured first, making every defensive decision surrounding it become extremely tense. The mission of RED should be slightly kamikaze because it is so unlikely that Point A will be saved from capture. Therefore, it is important that RED delay BLU for as long as possible here, but also to sacrifice it when saving it becomes unrealistic in order to defend A or B.
Some of the greatest chainstabs I've ever had have happened immediately after BLU captures A and they are headed to B. The emotional high of success can lead to them letting their guard down temporarily, so good Spies should capitalize on this opportunity. I know I do.
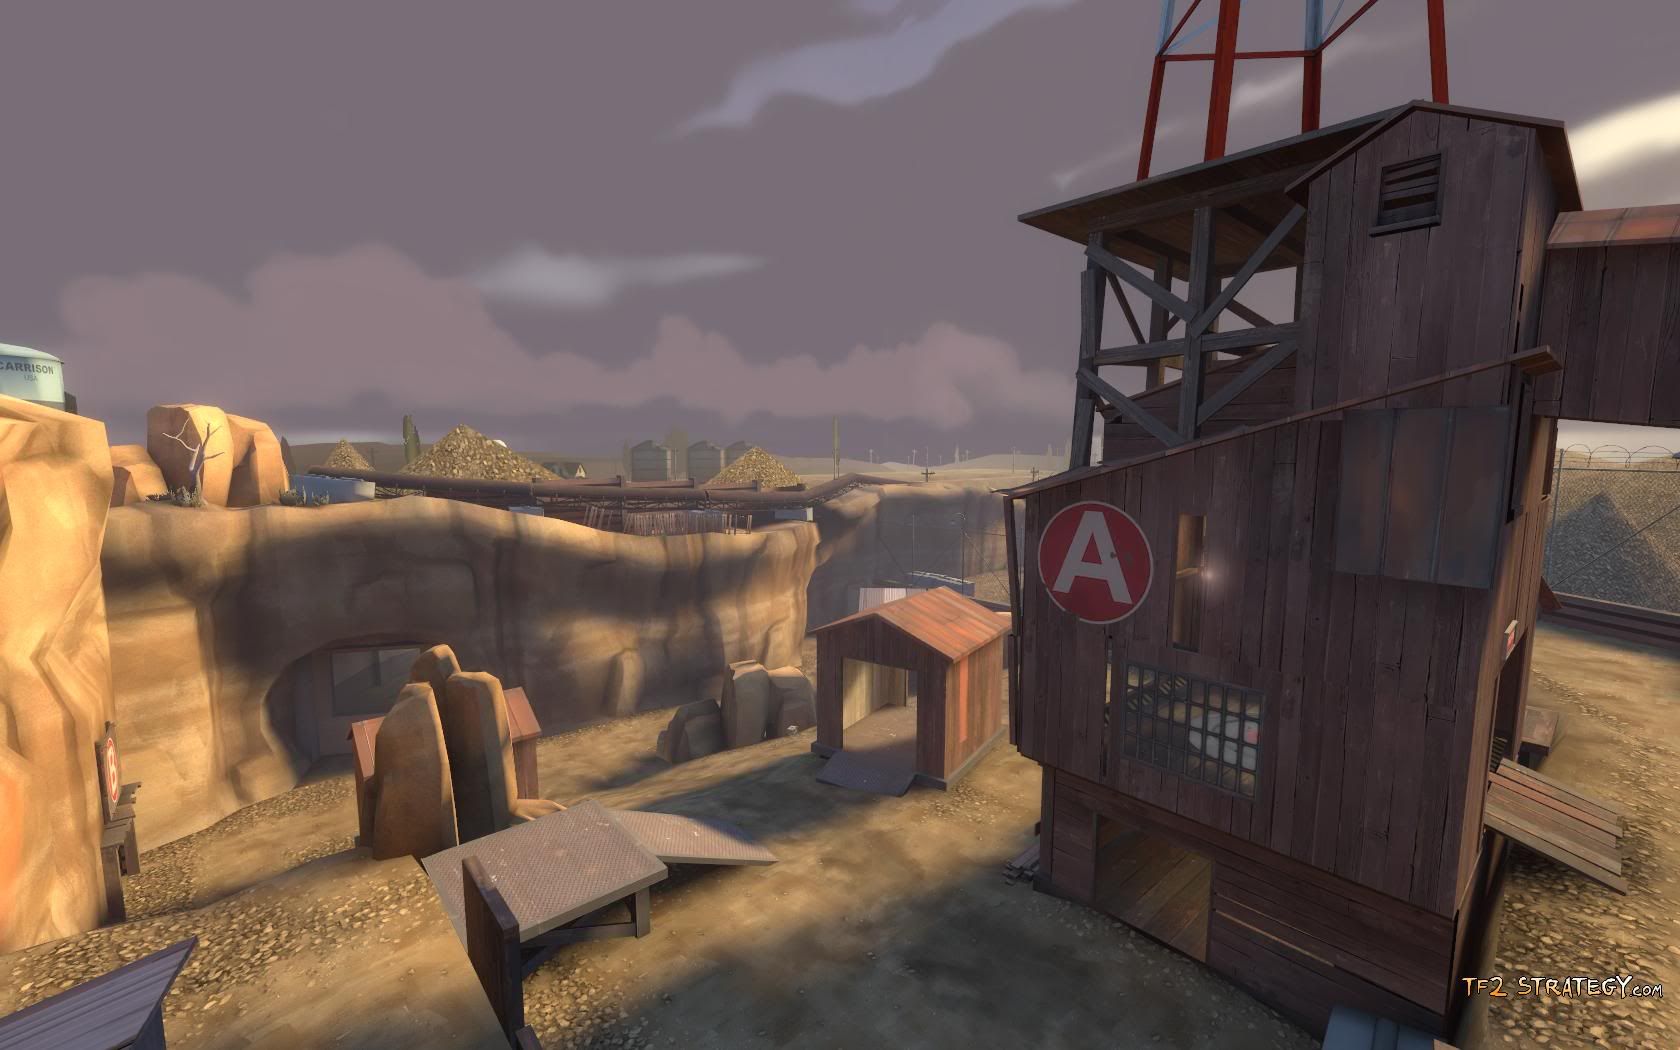
Capture Point B:

Following that terrible lead in to Point B's Introduction, some of you might not be taking it seriously enough. I cannot let that happen. Point B is one of the best map elements of any game I have ever played.
Standing about an equal distance from both RED and BLU's spawns, the Point B Building is likely to be in contention for a majority of the match. Much like a Teleporter Exit near Point A, a Soldier or Demoman on the roof of the Point B building provides an enormous amount of leverage. Note: If you are Engineer that get to this rooftop (without hacking), I highly suggest you build a Sentry farm up there. It is nigh impenetrable and a Teleporter Exit there can provide quick reinforcements.
A Spy can wreak havoc on RED defenses here because they can convincingly come in from any direction. Scouts can also be very effective on either team because they have a wide range of motion outside the building without every having to risk going inside, on the capture point.
In other words, it allows Scouts to impact the match without going where the Sentries are (something that Dustbowl has failed to do.) At the same time, once the Sentries are eliminated, the Scout can rush in and capture from any number of entrances.
If RED stays inside the building, they will eventually be bombarded to death from the outside, but if the team can keep BLU busy outside, a Heavy and a Pyro can clean up anybody that breaks through. RED Pyros also have an extra bite because BLU cannot return to spawn to douse the flames. A single BLU Medic can solve this problem, if BLU has one (it should.)
Stopping BLU from capturing Point B is fairly easy to do, even if they manage to collect a good presence there. If the point is almost captured, a good strategy for RED would be to split their ranks between setting up camp at C and sending one more squad to B. If B gets captured before the squad reaches BLU, they can at least disrupt their forward movement to C, giving the other squad more time to get ready.
Capture Point C:
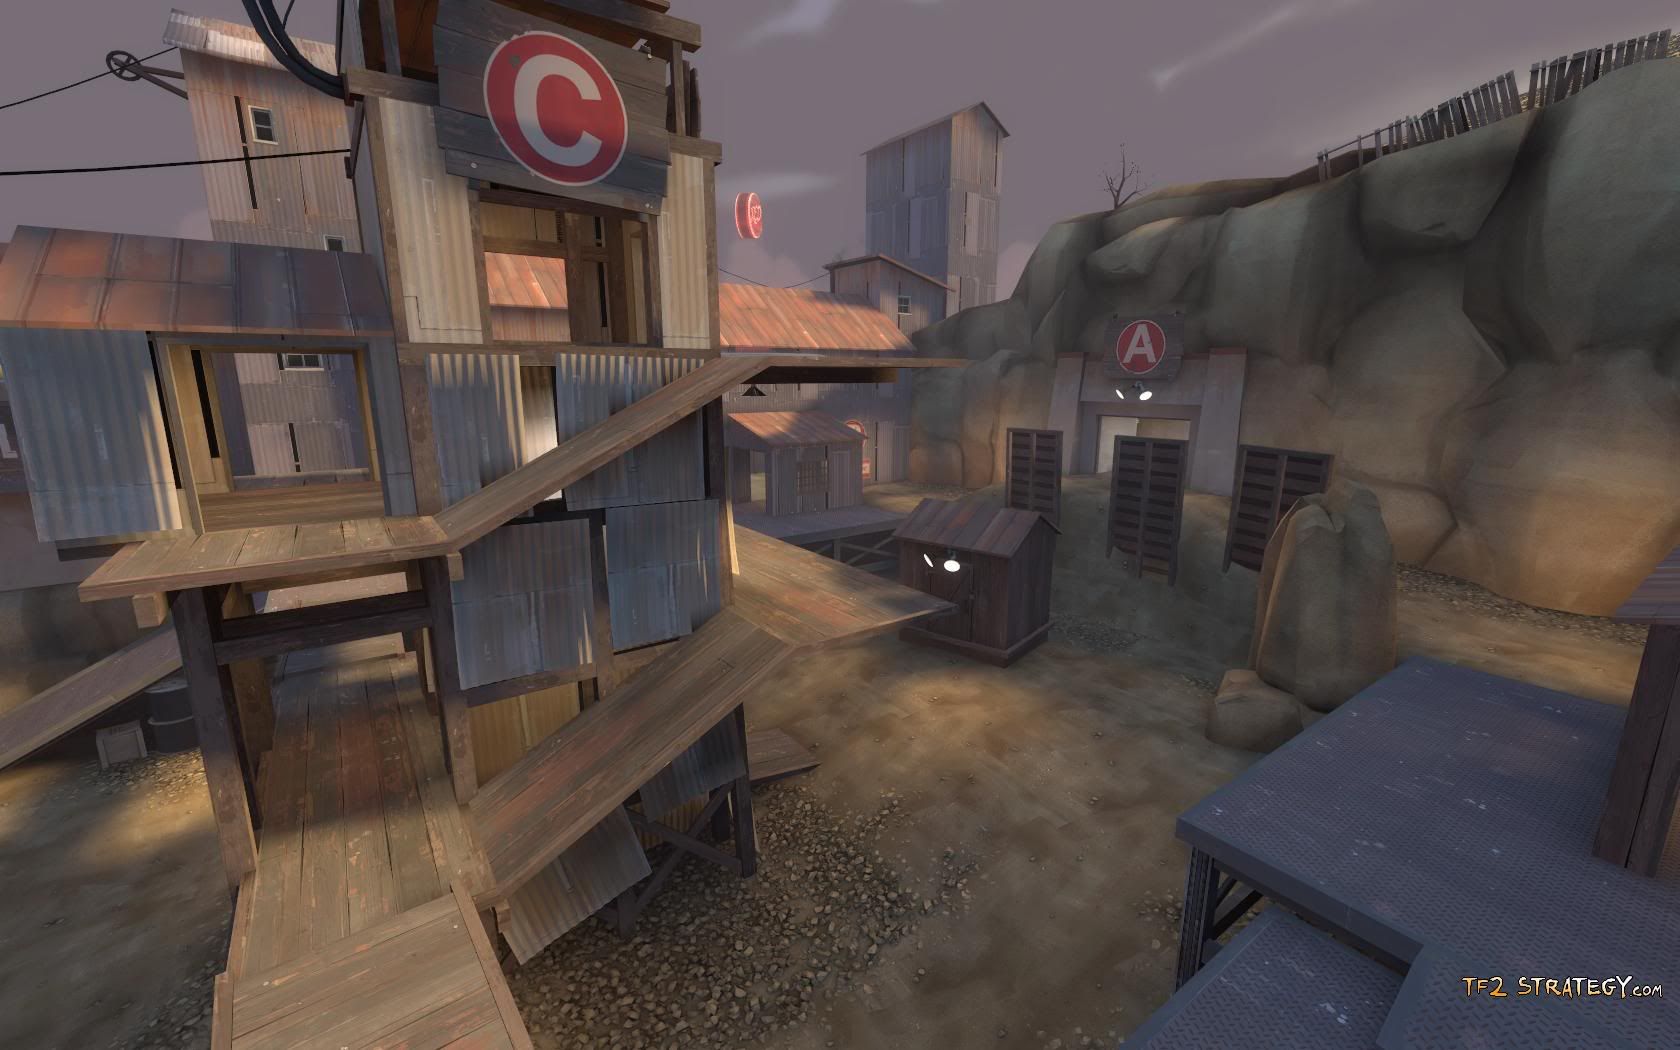
Valve's intent, when creating this part of the map (according to the Developer Commentary), was to enforce a free-form battle until a decisive victory of one team was discernible. This invokes images of a fierce, climactic struggle.
This is stamped all to hell by a Spy decloaking on the point right after it becomes available. However, I cannot deny that this is a superb strategy. Even if this doesn't work, it shakes up team RED pretty badly, and soon they are making hectic, irrational decisions, such as Demomen trying to sticky-jump to the point using three stickies.
Since there are five separate entrances to the arena, team BLU has a lot of opportunity to cause chaos. Team RED can also flank from lots of areas, making Spies and Scouts even more useful than usual.
With point C being at the top of a large vertical building, a Solidier or Demoman has a lot of chances to rocket/sticky jump to attack or defend. Besides being a practical way to ascend the ramps quickly, it is also a great way to impress your friends.
Snipers will be right at home if they take the passage from A to attack the defenders on Point C. Conversely, a Pyro can make themselves usefull by periodically flushing out that area of the map of enemies.
All-in-all, Point C provides a lovely finish to a well-designed map. When you look at it, you begin to understand why Team Fortress 2 took nine years to make.
Suggested Improvements:
BLU has a small lead in the statistics, so measures to help RED win should be minor, not dramatic. The geometry is great, so my suggestion would be to have RED's respawns happen a little more frequently after Point C becomes available for capture.

No comments:
Post a Comment